Thinking of starting a new project, Water Cooling

waterproofbob

Junior Administrator
Ahhh makes me want to build some PCs again. Stupid work, I realised the other day that although I spend all my time fixing computers that I've only built 1 PC to my own spec since I started my current job.
 

Haven

Administrator
Staff member
So whats the end result in terms of noise, heat and happiness ?

Eager folk are keen to know :)
 

Solemn

New Member
So whats the end result in terms of noise, heat and happiness ?

Eager folk are keen to know :)

Well atm I'm not 100% sure if the CPU block is on correctly so the temps could be wrong... but the gfx temps have dropped by about 20C or so however the CPU has still reached 59C once whilst playing Bad Company. I am thinking that maybe its not the best idea to cool the gfx card and then run that through to the cpu =( I'm still learning so, in time, I'm bound to get better!

Can anyone tell me some good apps I could use to benchmark it? would be nice to know what temps it's reaching when I'm really pushing it.
 

Silk

Well-Known Member
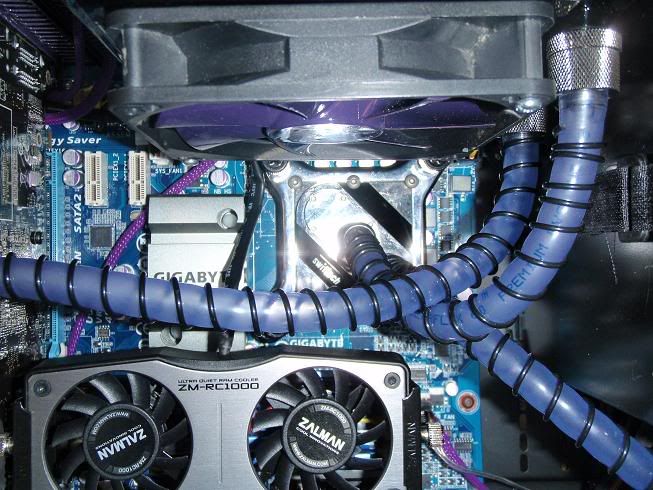
What are the coily things that go aorund the pipes for?

Do they help dissipate heat?
 

Solemn

New Member
Just thinking about a second rad, maybe just a 120mm that I could throw on my top fan and the place another fan on the other side. (so using the push pull effect). I would then put this between the GPU and CPU. so the water going to the GPU would have been cooled down alittle before going straight to the CPU.

This a good or bad idea?
 

Solemn

New Member
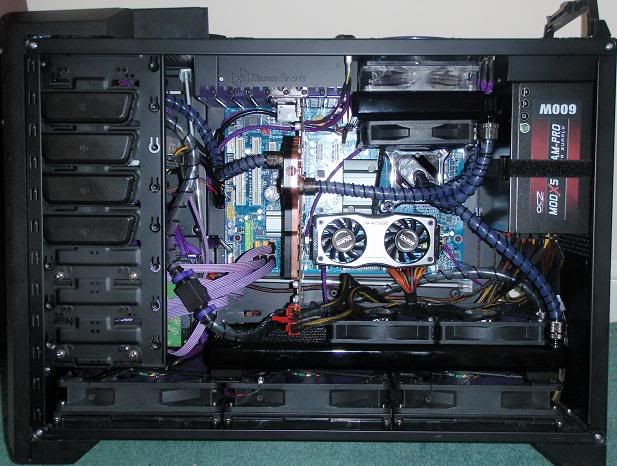
Second phase of my water cooling build happened last weekend with some rather interesting results. The main reason for this second phase is that my CPU was still getting quite warm, I believe this was because I was running heated water from my GPU directly onto the CPU. To resolve this I decided to throw in a second small radiator to cool the water some between the GPU and CPU.

New Components:
4 x generic 120mm fans. (mostly fans I found lying around)
Lots of different sized purple cable braiding (still turned out not to be enough)
1 x Stealth 120mm Radiator
2 x 3/8 - 1/2 BitStopper Comps
Correct 775 plate for water block =)

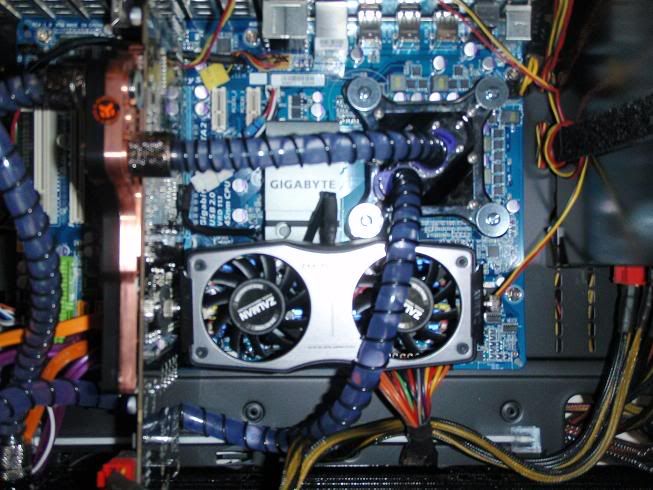
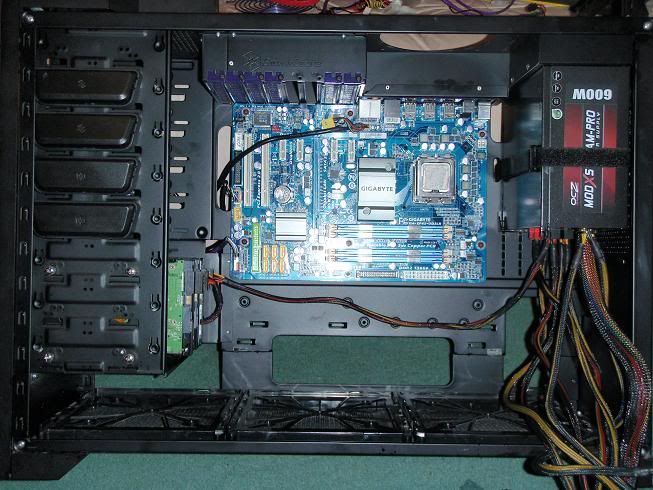
Firstly I thought I would take some pictures of the first phase build, where I had to use bolts from homebase to hold the CPU block to the motherboard. This was because the block did not come with the 775 backplate. =(

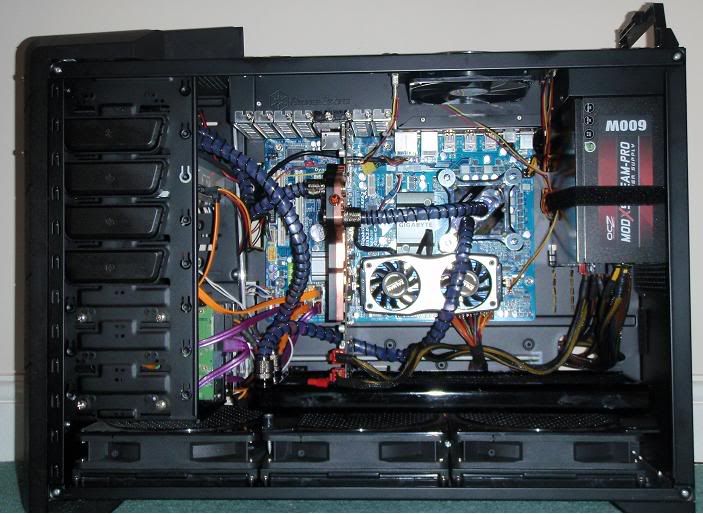
Before, Full system
Before1.jpg


Before, CPU block
CPUBlockBefore.jpg


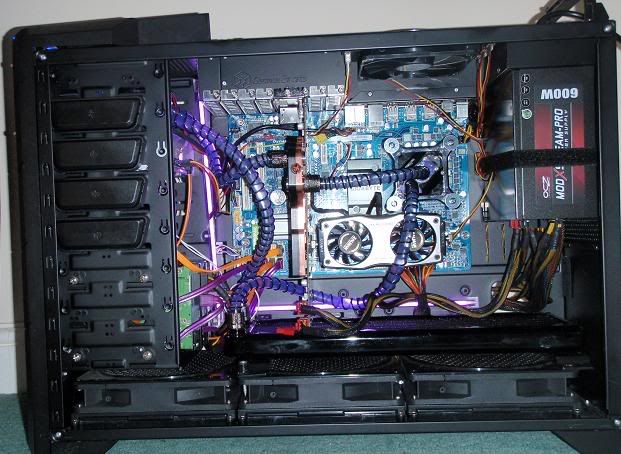
Before, with Lighting on
BeforeWithLEDs.jpg


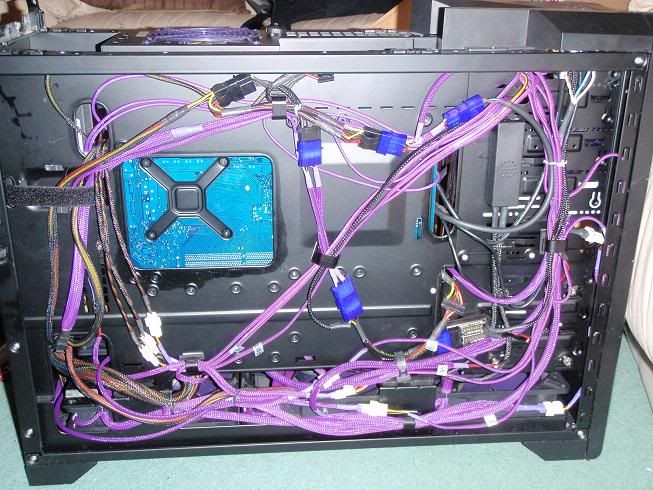
Before, Back of CPU block
BeforeWithLEDs.jpg


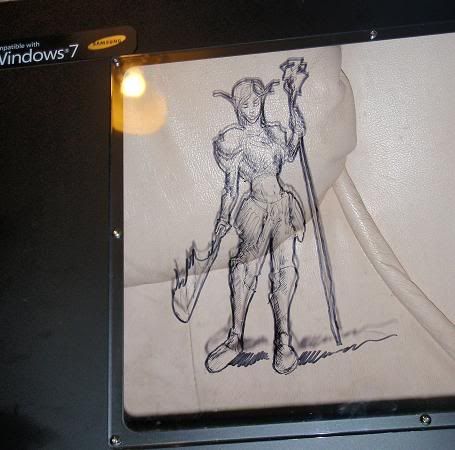
Also wanted to show you guys the awesome Blood Elf that was drawn for me by SnakeByte (guy from i39). This picture doesn't really do it allot of justice, but it looks super hot =)
BloodElf.jpg


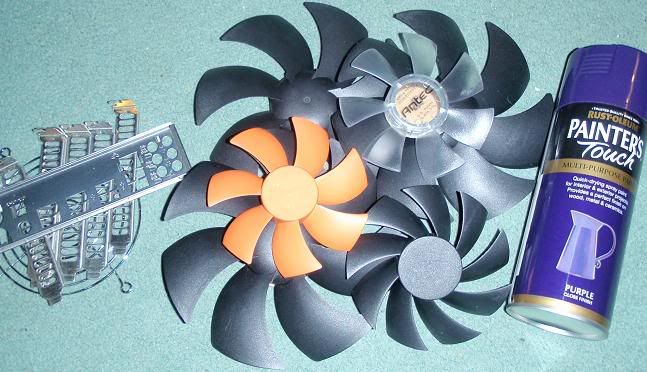
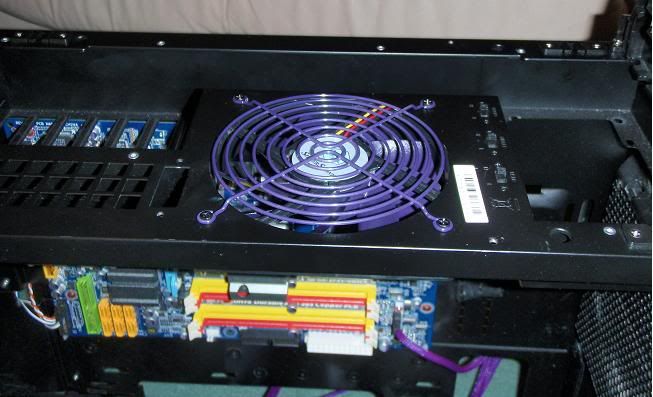
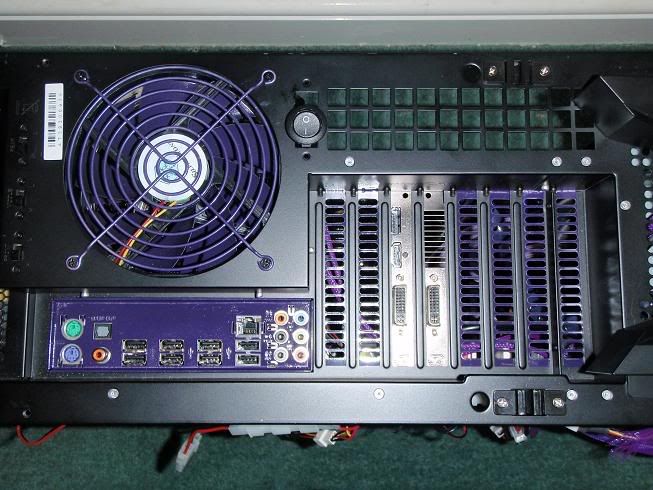
So the first step I wanted to take was to remove all the fan blades and spray them purple to go with my purple and black theme =) After a few hours of fighting with the little washers, I managed to remove the 8 blades.
ToSpray.jpg


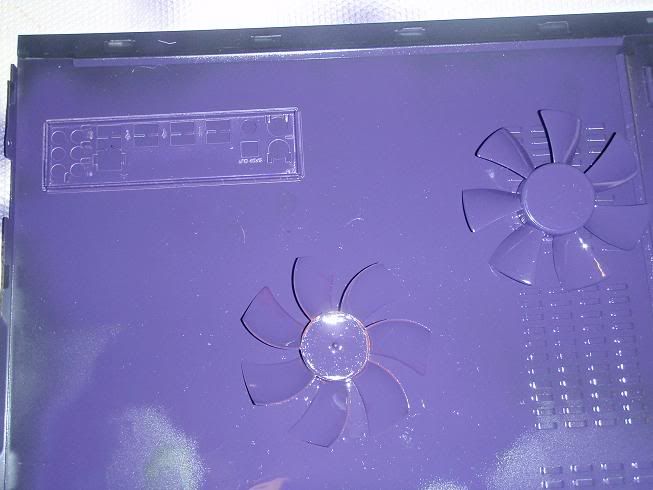
My skills with spray paint did leave allot to be desired tbh. but the end result didn't look too bad hehe
Spraying.jpg


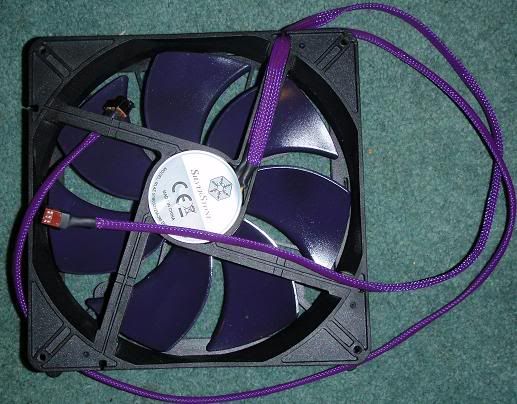
End result of 180mm fan
Fan1.jpg


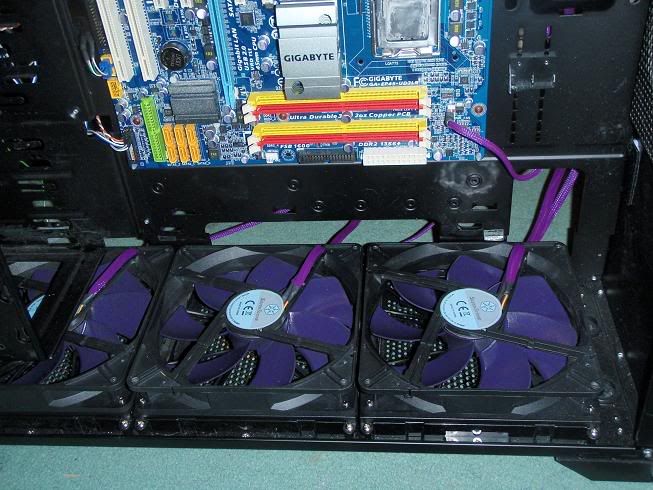
180mm fans installed
FansInstalled.jpg


It was my intention to braid all the cables excluding the PSU cables as they were already done stock. However, half way through the process I discovered I didn't have enough so will have to finish this up in phase 3 =)
cables.jpg


This again, ended up being an all night project which started at about 6 on the Friday afternoon and finished up on the Saturday morning.

Results of sprayed metals
Top1.jpg


Top2.jpg


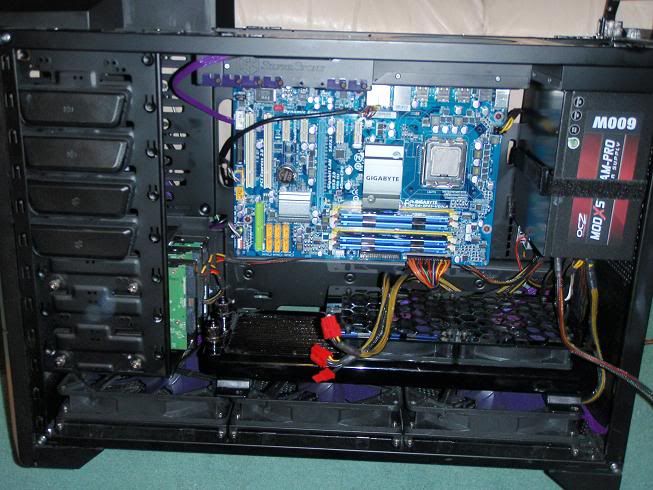
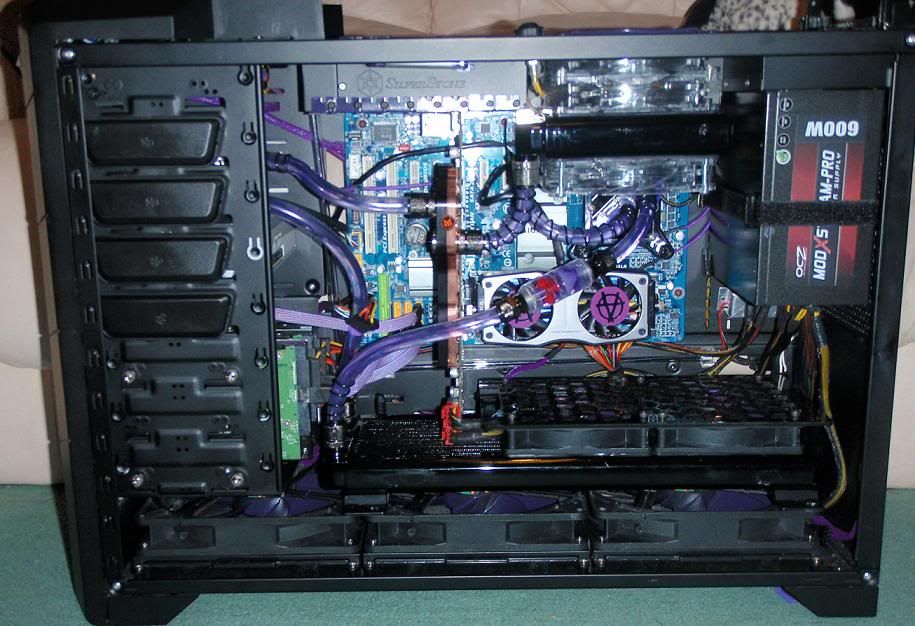
Finished results of the inside
Finished1.jpg


CPU Block now
FinishedCPU.jpg


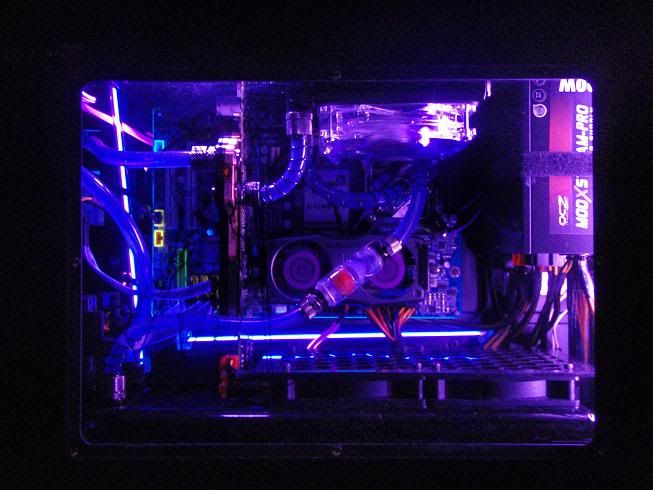
With Cover on and LED on. (Accidentally broke one of the cathodes so will be replacing that in phase 3 as well)
FinishedLED.jpg


The only problem I seemed to have after completing this, was that when turning the PC on there was the burning electrical smell o.o; which is never a good sign... However after watching the temps of all internal components, I noticed that not a single thing was overheating... so I believe this much just be the smell of the paint maybe getting warm somewhere. I hope... hehe.
 

Haven

Administrator
Staff member
Very shiny, you really went the extra bit to braid cables, very impressed with how much detail you put into it all :)

Now its time to play some games surely!
 

Solemn

New Member
Very shiny, you really went the extra bit to braid cables, very impressed with how much detail you put into it all :)

Now its time to play some games surely!

hehe its only on weekends that my PC is down. So this weekend I intend to finish most of it off including the braiding =)
 

DocBot

Administrator
Staff member
nice job! I'm impressed (and also wish I still had the knowhow & patience to do something like that)!

Prime95 and Furmark for cpu/ram and gpu, respectively. :) iirc.
 

Solemn

New Member
nice job! I'm impressed (and also wish I still had the knowhow & patience to do something like that)!

Prime95 and Furmark for cpu/ram and gpu, respectively. :) iirc.

Thanks =) will try and get hold of those over the weekend. also watch this space for phase3 hopefully coming the begining of next week =)
 

Solemn

New Member
So, on to phase three. The main thing I wanted to add in this phase was LED's to all my fans and and LCD Fan controller/Temp Monitor. Considering I have 8 fans currently in my system, I did struggle a bit to find a nice FanController! Also wanted to ensure that all my lights would be able to be controlled with a single switch.

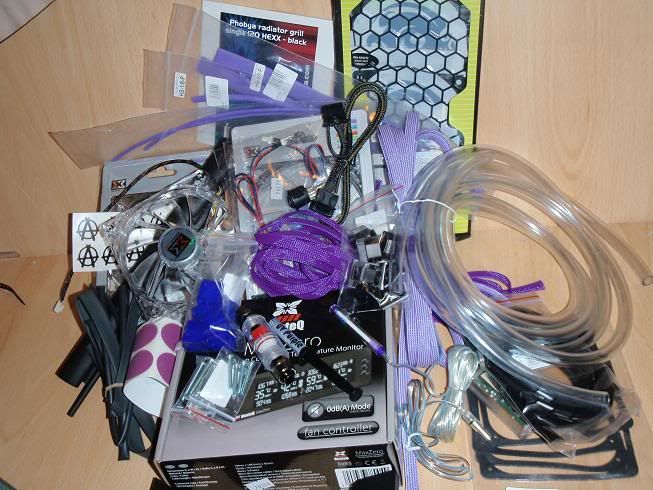
New Components

Fans
12cm Fans: 3 x Xigmatek Crystal purple LED fan
Fan Controller: NesteQ Max Zero 5.25" Fan Control Black
Fan Cover: 1 x dual (240)/ Honeycomb acrylic black
Fan Cover: 1 x Phobya radiator grill single (120) HEXX - black
LEDs
LED PORT: Mod/smart 20 Station LED Power Board : Black
White LEDs: 3 x Twin 5mm ultra-bright white
Purple LEDS: 1 x Ultra Bright UV Twin LED Lit 3mm
Molex Switch: Molex 4 Pin on/off Power Rocker Switch
Cathodes: Akasa 12" Cold cathode - UV 2 Pack

Cabling
Braiding
8 x mod/smart Flex Sleeve 3mm (1/8") UV purple
3 x mod/smart Flex Sleeve 6mm (1/4") UV purple
8 x 4mm Black Cable Braid
8 x 6mm Black Cable Braid
Heat Shrink
3 x mod/smart 6mm (1/4") 3:1 ViolettHeatShrink
2 x mod/smart 12mm (1/2") 3:1 Violett 30cm
3 x 6.4mm Heatshrink with 2:1 Ratio : Black
3 x 9.5mm Heatshrink with 2:1 Ratio : Black
Connectors
8 x mod/smart PSU Power Connector 4pin Molex - UV Purple
3 x mod/smart PSU Power Connector 4pin Molex - UV Purple
Other
2 x spiral wrap sleeving 6.0mm black
4 x mod/smart Wire Saddle 3/8 in.Clip Style- Black
4 x mod/smart Wire Saddle 9/16 in.Clip Style- Black

Misc
Flow Monitor: Flow indicator with filter G1/4'
2 x 13/10mm (10x1,5mm) screw-on fitting outer thread 1/4 - black nic
Stickers: 10 x 3cm Anarchy 'A' - Black
Stickers: 10 x 3cm Circle background - Purple

NewComponents.jpg


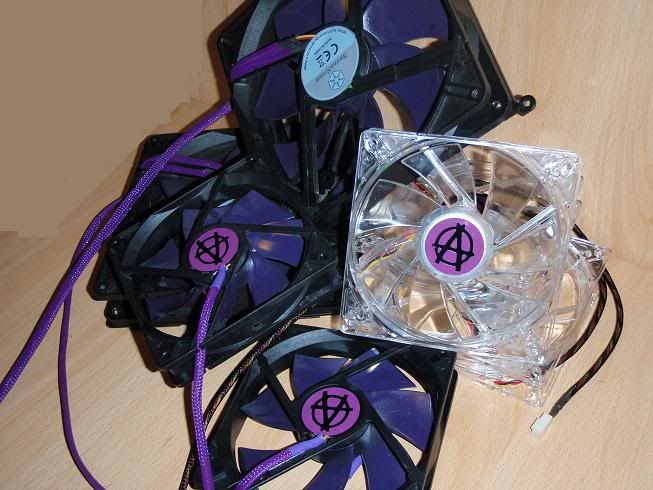
Fans Braided and with Anarchy stickers
Fans.jpg


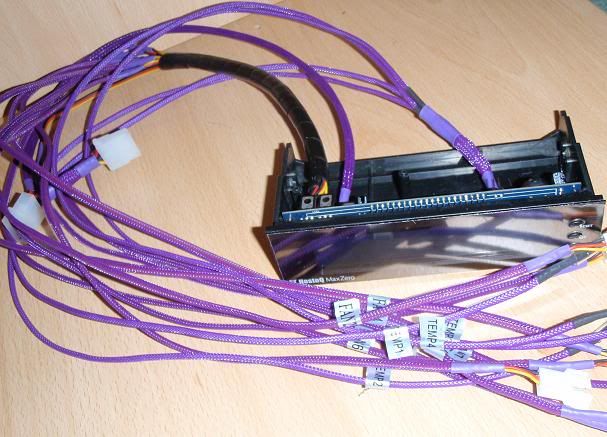
Fan Controller braided
FanController.jpg


Again first thing I did was strip the PC as much as would be needed.
Bare.jpg


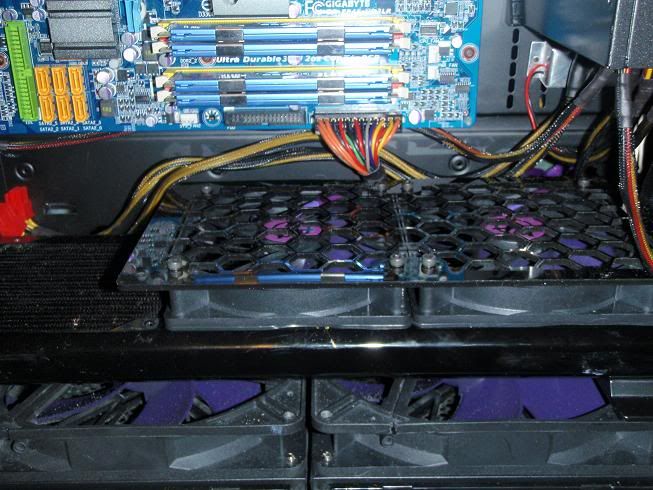
Next step was to drill holes into all my fan's housing to fit the LEDs, and the to try and put the fan back with the new covers I got for them. It was at this point I realised that the 120mm fan covers were 140mm in size :(I was unable to fit te single 120mm onto the radiator (only part of radiator thats showing because the cover covered up the inlet and outlet holes for the pipping.

BottomFans1.jpg


BottomFans2.jpg


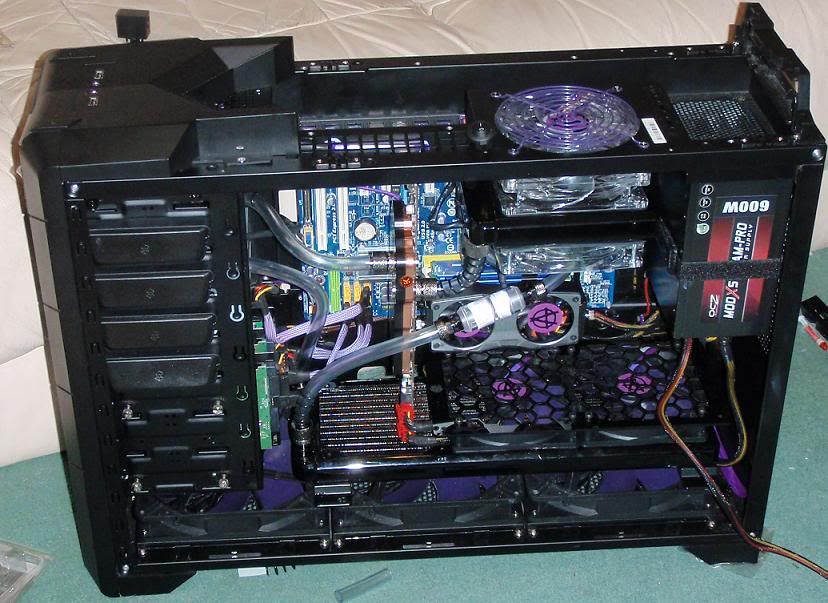
Next thing I did was fit the second Rad to the top of the case and then re-tube my Loop. I also added the flow indicator between the CPU and 360 Rad.

FinishedWOWater.jpg


Now to fill her up and preform the leak test =)

FinishedWithWater.jpg


Once happy with the Loop it was tip to play about with the LED's and wire everything up. It was at this point I started having troubles with the LED power board and the Twin White LEDs (Now cut down to Singles). For some reason some LEDs worked and others didnt, then I had them working sporadically until two LEDs no longer light up (I think they might have blown maybe:/) So it was at this time I gave up with the LEDs and decided I would have a play with the electricals in Phase4

Wiring (Will be tidied more with the spiral wrap once all LEDs are connected)
Cables.jpg


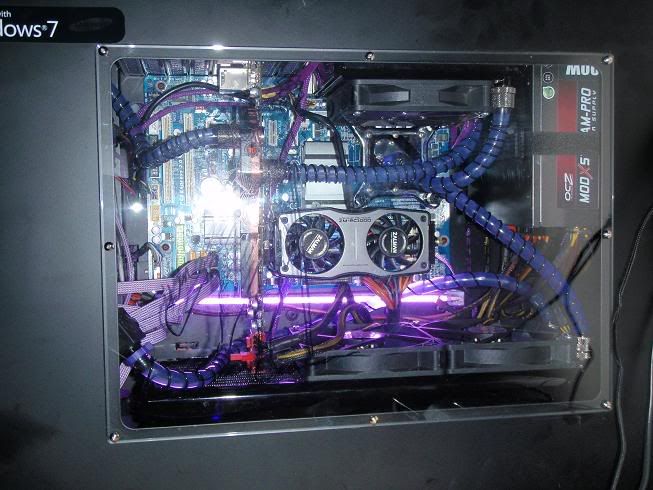
At night with Lights on
Dark.jpg


Front. (The power light looks purple, these are just lousy pictures)
Front2.jpg


OK. so still to do,

Sort out Fan LEDs
Thinking about buying the corrrect sized 12cm Top Rad so I wont need the additional two fans as placeholders.
(might replace the new cathodes as they look more blue than purple (left, bottom)
Tidy up cabling
Might in future buy a quiter pump (mine is quite noisy tbh =[)
 
Top